Friday, February 18, 2011

Smooch Holder Tutorial


Okay, I made another one of the Smooch holders and changed the dimensions a bit. The finished dimensions will be 3" wide, 5" long, and 3" tall. You will need two pieces of cardstock trimmed to 9x11. Score at 3" on all sides of both sheets. Cut each corner like you would to assemble a box without a top. Assemble and set aside.
Use a scrap 3x5 piece of paper to make a template for the holes. I used a 1/2" circle punch to punch a row of 5 circles down the long side, then three across the short side. Trace onto other prescored sheet. Use a craft knife to cut out circles or make a star pattern to create holes. 1/2" circles are the perfect size for the Smooch brand tubes to fit.
After holes are cut, you should have three rows of five for a total of 15 slots for your tubes. Assemble same as the base and slide into base. I used a little adhesive to keep from separating. Decorate as desired.
Sorry, I don't know how to utilize templates, or I would make you one for downloading. The example here is retired SU colors Handsome Hunter and Taken with Teal. The stamp is from Michael's dollar bin and the skittle has a little piece of Taken with Teal glued to it with liquid glass. I spritzed the box with Vanilla Shimmer Smooch.
If you have any questions, leave them in the comments and I will do my best to clarify. Thanks for looking! April

Sunday, February 13, 2011

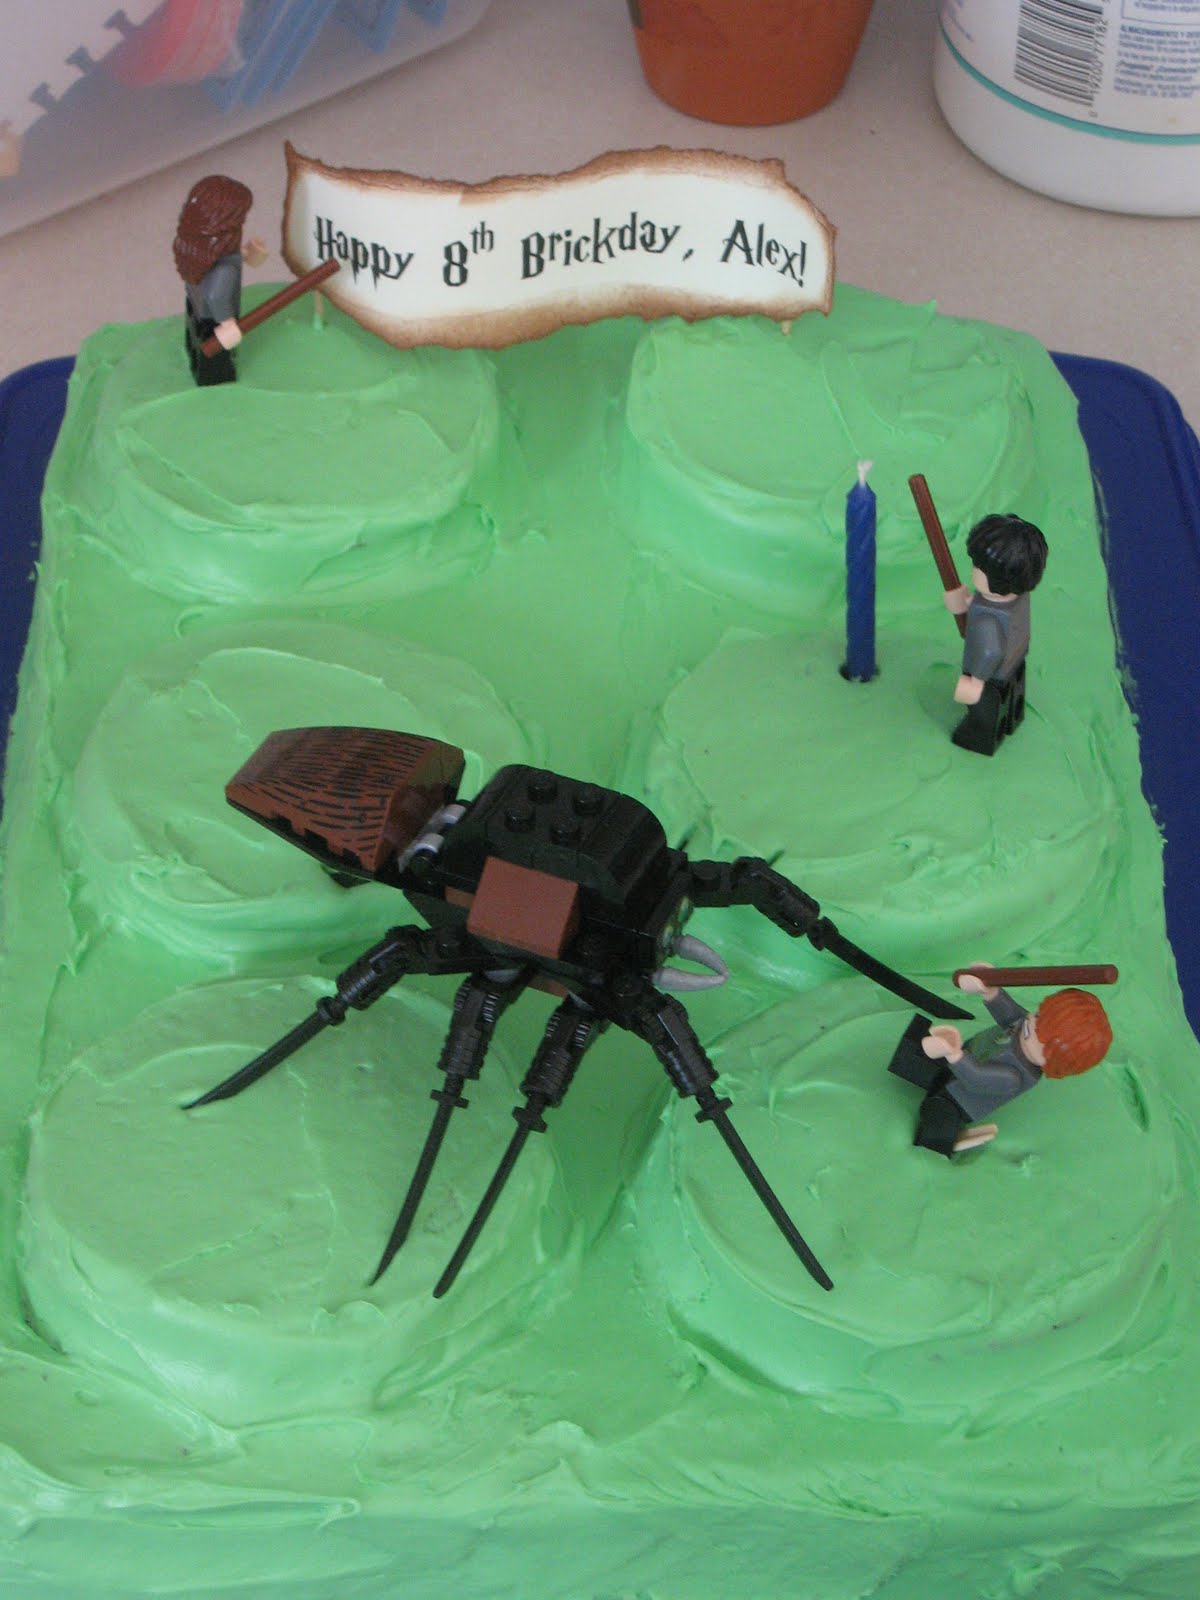
Lego Birthday cake

Here's my son's cake for his party today. The frosting was a pain the in bum, but it came out okay in the end. I used two boxes of cake mix to fill the 9x13, using the left overs for the circles. My daughter has the Easy-Bake oven, so I stole her round pans and baked them in the toaster oven for 12 minutes.
We used his Harry Potter legos and I made the banner using Harry P font from dafont.com and printed on Very Vanilla cardstock. I ripped the edges of the banner and used Chestnut Roan cat's eye chalk to make it look more like parchment. Next I pulled the paper between my fingers to make it curl like you do with ribbon, then attached it to toothpicks with Zots glue dots. Thanks for looking! April

Monday, February 7, 2011

3x3 cards and box

So, I saw this on Dannie's blog. I figured why not use them to help use up the scraps of this set? She has a link to the template on her blog, but there is also directions on Splitcoast stampers.

I used Pumpkin Pie for the base, then added pieces of Simply Scrappin' papers, as shown. I made a little closure for the box by cutting apart some velco squares and then added eyelets to the sides for the ribbon to thread through.

The cards are also using scraps. I used stamp sets Out of the Box and Smarty Pants. I think Smarty Pants is fun and quirky, just right for a little note card set. For the Be Yourself card, I only stamped half of the sentiment, then did the other half inside the card. Go check out the set for yourself...too cute! Thanks for looking! April

Sunday, February 6, 2011

Another scrapped birthday card...

Here is another card made with the leftover retired SU scraps. I used the scalloped border punch on a scrap of Pumpkin Pie, then layered some of the printed paper. I used a border sticker from the kit along just above the scallop. I used the 1 3/4" circle punch for the hole in the corner. I then stitched around the edge of the card, then added a piece of scrap ribbon (it's close to Old Olive, just slightly darker). Next I attached it to card base, then used the already punched circle to line up and punch through the base. I used a circle sticker from the kit and stamped the sentiment from Whimsical Phrases in Jet Black Staz-On. I was going to add a brad in the circle for a little dimension, but then it seemed too big and bulky, so I used a spiral paperclip, then added a little leftover tag from the kit. Thanks for looking! April

Saturday, February 5, 2011

Valentine's Bottled Water Treat - Part 2

Here is the one from Chic n Scratch. She has a blog and YouTube videos, so I thought I would check out the difference and see what I thought. Honestly, this one uses less paper, but takes just as much time cutting. This treat holder is more obscure measurements, so it takes a bit longer doing all the cuts, but Dawns eats three times the paper. I think it is just personal preference, as they are equally cute. You could fit three or four packets or other goodies in the box, but this one is a snug fit for just one, making it much more secure and less likely to lose one along the way.
Base paper is 2x7 3/4, then scored at 2 inches on each end. The inner piece of B&T is 3 1/4x1 7/8 and it does NOT go all the way down. Build the scalloped circle pieces like in the previous post and use brads to seal the sides. It allows a little wiggle room when you insert the packet.
Thanks for looking! April