
Showing posts with label holiday. Show all posts
Showing posts with label holiday. Show all posts
Monday, February 1, 2021
Santa Mickey wall hanger


Thursday, January 28, 2021
Peppermint Mickey Garland

I decided I wanted a garland for over the fireplace after finding some amazing inspiration on IG and Pinterest. So, off to the Cricut I go! This was made with white glitter cardstock and red and green Cricut brand shimmer papers. I used Tombow Aqua adhesive and it worked well. I used a light weight on top to help set as I glued the next one. I got inspiration from Tara at Wilder Crafting on IG for the hanger design. It is basically a strip of paper with a hole on each end to run the string through, allowing the ears to look like they are floating. I just used jute twine to string them up. Thanks for looking! April
Friday, January 22, 2021
Winter mailbox

I got this awesome svg file from Designs By Miss M. Mandee makes some really great stuff so be sure to look her up! I just followed the colors she used and cut them on my Cricut. I used glue and double-sided tape but would recommend hot glue for faster assembly. I used Bazzill papers from JoAnn...good thing it was on sale. This takes 5 sheets of dark red alone! It turned out beautifully and looked great on our mantle. Mandee even reposted it on IG account. Thanks for looking! April
Thursday, January 7, 2021
Mickey Valentine Garland

I loved my Peppermint garland so much, I decided to make a Mickey Conversation Heart Garland too! I used Cricut Design Space to cut the words out of the Mickeys, as well as the red glitter backs. I used the same process as the pepper hangers. I am already thinking of ideas for Easter. Thanks for looking! April
Friday, January 1, 2021
Halloween sign


Sunday, September 27, 2020
MFT Design Superstar 2020: Innovaton Master

This one was a challenge for me but I think it turned out well in the end. I doubt I would try to mass produce this but for a solo card, it was fun. I chose to try a window slider card for this challenge. Jennifer McGuire has a great tutorial on YouTube. The base is MFT Electric Red, heat embossed in white using the MFT Candy Stripe stencil.
The center panel is made by masking the snow by using the MFT snow hills dies. The sky is inked in Tim Holtz Distress Inks in Tumbled Glass, Blueprint Sketch, and Chipped Sapphire. The images are MFT Sweet Holiday Penguins colored with copic markers. I also used the MFT Interactive Labels stamps on the pull tab.

Thanks for looking! April
Thursday, December 12, 2019
Jennifer Marker Star Lantern Alternative
 Yep, you read it right, I altered the star lantern from Jennifer Maker. My youngest has his own little tree in his room with his favorite ornaments and last year refused any attempt at a tree skirt or topper. This year I offered to make him a Mickey topper or a star. He asked for a star and as soon as I saw Jennifer's, I knew with a little tweak, it would be perfect. Her team was wonderful about answering my question about how big the finished star was so I had an idea of how much I needed to downsize.
 The original star lands around 14 inches and each arm is around 7 inches, way too big for a little 4 foot tree. My wonderful engineer hubby said that a six inch star would keep the proportion just fine, so I needed each arm to be around 3 inches once folded. Now, when you are adjusting the size, it's hard to tell on screen, but I cheated by using the score line image and stretched it over the point to the inside. That gave me a realistic idea of the actual size, then I deleted the score line. I also deleted the piece with the notch for the pendant light and duplicated an extra of the regular points. I cut the image on glitter cardstock. Be ready for a long wait as it took nearly 45 minutes to cut. The glitter paper setting on the Cricut will cut it twice. I found it did not need the second pass as it only made more of a mess so I stopped it half way through the second cut.
Be sure to follow Jennifer's suggestion to only assemble 4 of the points before gluing them together. The last point is much easier to add when you can glue one tab at a time and save the long point for last.
How did I attach it to the tree? I used scissors and cut a small notch in the base of the star and slid a chopstick with hot glue in it up to the top. The stick hides well in his tree so I did not feel like I needed to paint. I do recommend a twist tie to keep it in place. Thanks for looking! April
Monday, September 23, 2019
Jolly Elf gift card holder
I am selling at our local high school craft fair in November. Last year, these Hershey Kisses gift card holders were a huge hit, along with a couple other style of holders. You will find the link to my last year design here and the video tutorial here.
 This year, I have three colors - Old Olive, Real Red, and Shaded Spruce. I am using retired 6x6 Stampin Up DSP, a sentiment using a Cricut print and cut on white cardstock, and punch art elves. The elf is made using Petal Pink cardstock for the face and ears. The face is punched with a retired ornament punch from SU, and a fiskars flower petal punch for the ears. The nose is a 3/8 inch circle punch and is attached with a foam dot. They eyes are punched from a 3/8 in circle in white and a 1/4 in circle in black. You can also use the owl builder punch from SU. The hat is punched in Real Red from a heart punch, then removing the bumps of the heart with an oval punch. I also made the green brim of the hat from the oval punch. I glued mini white pom poms on the tip of the hat and a hand drawn smile. Thanks for looking! April
 This year, I have three colors - Old Olive, Real Red, and Shaded Spruce. I am using retired 6x6 Stampin Up DSP, a sentiment using a Cricut print and cut on white cardstock, and punch art elves. The elf is made using Petal Pink cardstock for the face and ears. The face is punched with a retired ornament punch from SU, and a fiskars flower petal punch for the ears. The nose is a 3/8 inch circle punch and is attached with a foam dot. They eyes are punched from a 3/8 in circle in white and a 1/4 in circle in black. You can also use the owl builder punch from SU. The hat is punched in Real Red from a heart punch, then removing the bumps of the heart with an oval punch. I also made the green brim of the hat from the oval punch. I glued mini white pom poms on the tip of the hat and a hand drawn smile. Thanks for looking! April
Monday, October 22, 2018
Fall Pumpkin


Sunday, September 10, 2017
Pixar Up mailbox tote

My hubby and I are going to Mickey's Not So Scary Halloween Party at Walt Disney World. We are dressing as grown up Carl and Ellie from Pixar's Up. I wanted to have a cute tote and found this little chipboard mailbox at Hobby Lobby. My talented teen painted the mailbox by hand. I punched holes in the top and added a braided cord handle. There are also hand-made Ellie Badges, tucked inside, to hand out during the party. Thanks for looking! April

Thursday, July 3, 2014
June 2014 My Paper Pumpkin

 |
| close up of pinwheel |
 |
| Close up of figure |
Monday, November 25, 2013
Stamp Club extra
 So this is a card made from some of the left over parts from my stamp club. You can see the other cards here. The base is Very Vanilla. The Crushed Curry layer is embossed with the cheveron embossing folder from Paper Studio @ Hobby Lobby. The stamped panels are mounted on Early Espresso core stock, then mounted with dimensionals. I cut a couple of small strips to make a window ledge. The strip at the bottom is Cherry Cobbler. The sentiment is from the My Paper Pumpkin Welcome kit. The stamps on the panel and accents are from SU's retired Day of Gratitude. Thanks for looking! April
Thursday, January 3, 2013
Snowman notepads

The base is Old Olive with patterned papers from DCWV. The chalkboards are kraft and basic black and cut from a Tim Holtz die and the image is SU's Frosty Friends, stamped in Versamark and embossed in white powder. I used a stardust gel pen to add some details. Last is some tiny jingle bells and a small tag tied to a button with Cherry Cobbler baker's twine.
Friday, December 7, 2012
Frosty Friends workshop
I went to a Stampin' Up workshop and this month the single Frosty Friends stamp was featured. I learned how to stamp on a candle, which was really neat and easy to do.
 The first item is the candle and the great gift box we made to go with it. It even has a cellophane window. I don't know what set the holly leaves are from but it was just randomly stamped all over the top. I left my bottom plain, then tied it off with the cherry cobbler waffle ribbon that coordinates with the ribbon I have on my candle. What a great teacher or hostess gift!
 The second item is a gift bag topper. It is just a piece of cardstock folded in half then decorated. The bags are plain bags that come in large quantities for as little as .25 each. How great is that?
 The last is this adorable card. I just love the blues. We used the polka dot embossing folder, dies, and seam binding to make this. We also got to play with heat and stick powder and compare dazzling diamonds glitter with Iridescent Ice embossing powder. What a difference!
Thanks for looking! April
 The first item is the candle and the great gift box we made to go with it. It even has a cellophane window. I don't know what set the holly leaves are from but it was just randomly stamped all over the top. I left my bottom plain, then tied it off with the cherry cobbler waffle ribbon that coordinates with the ribbon I have on my candle. What a great teacher or hostess gift!
  The second item is a gift bag topper. It is just a piece of cardstock folded in half then decorated. The bags are plain bags that come in large quantities for as little as .25 each. How great is that?
  The last is this adorable card. I just love the blues. We used the polka dot embossing folder, dies, and seam binding to make this. We also got to play with heat and stick powder and compare dazzling diamonds glitter with Iridescent Ice embossing powder. What a difference!
Thanks for looking! April
lip balm holders

The inside is Very Vanilla and the outside is Always Artichoke or Bravo Burgundy, with layers of christmas paper from DCWV. The ribbon is satin ribbon from Michaels, and the stamp is a retired SU set called So Many Scallops. It is stamped in Dove Grey Staz-On and the snowflakes are stamped in Versamark and embossed with white powder. It is punched out with the scalloped circle and mounted with dimensionals on a decorative label. Thanks for looking! April

Sunday, October 7, 2012
Class Halloween Treats

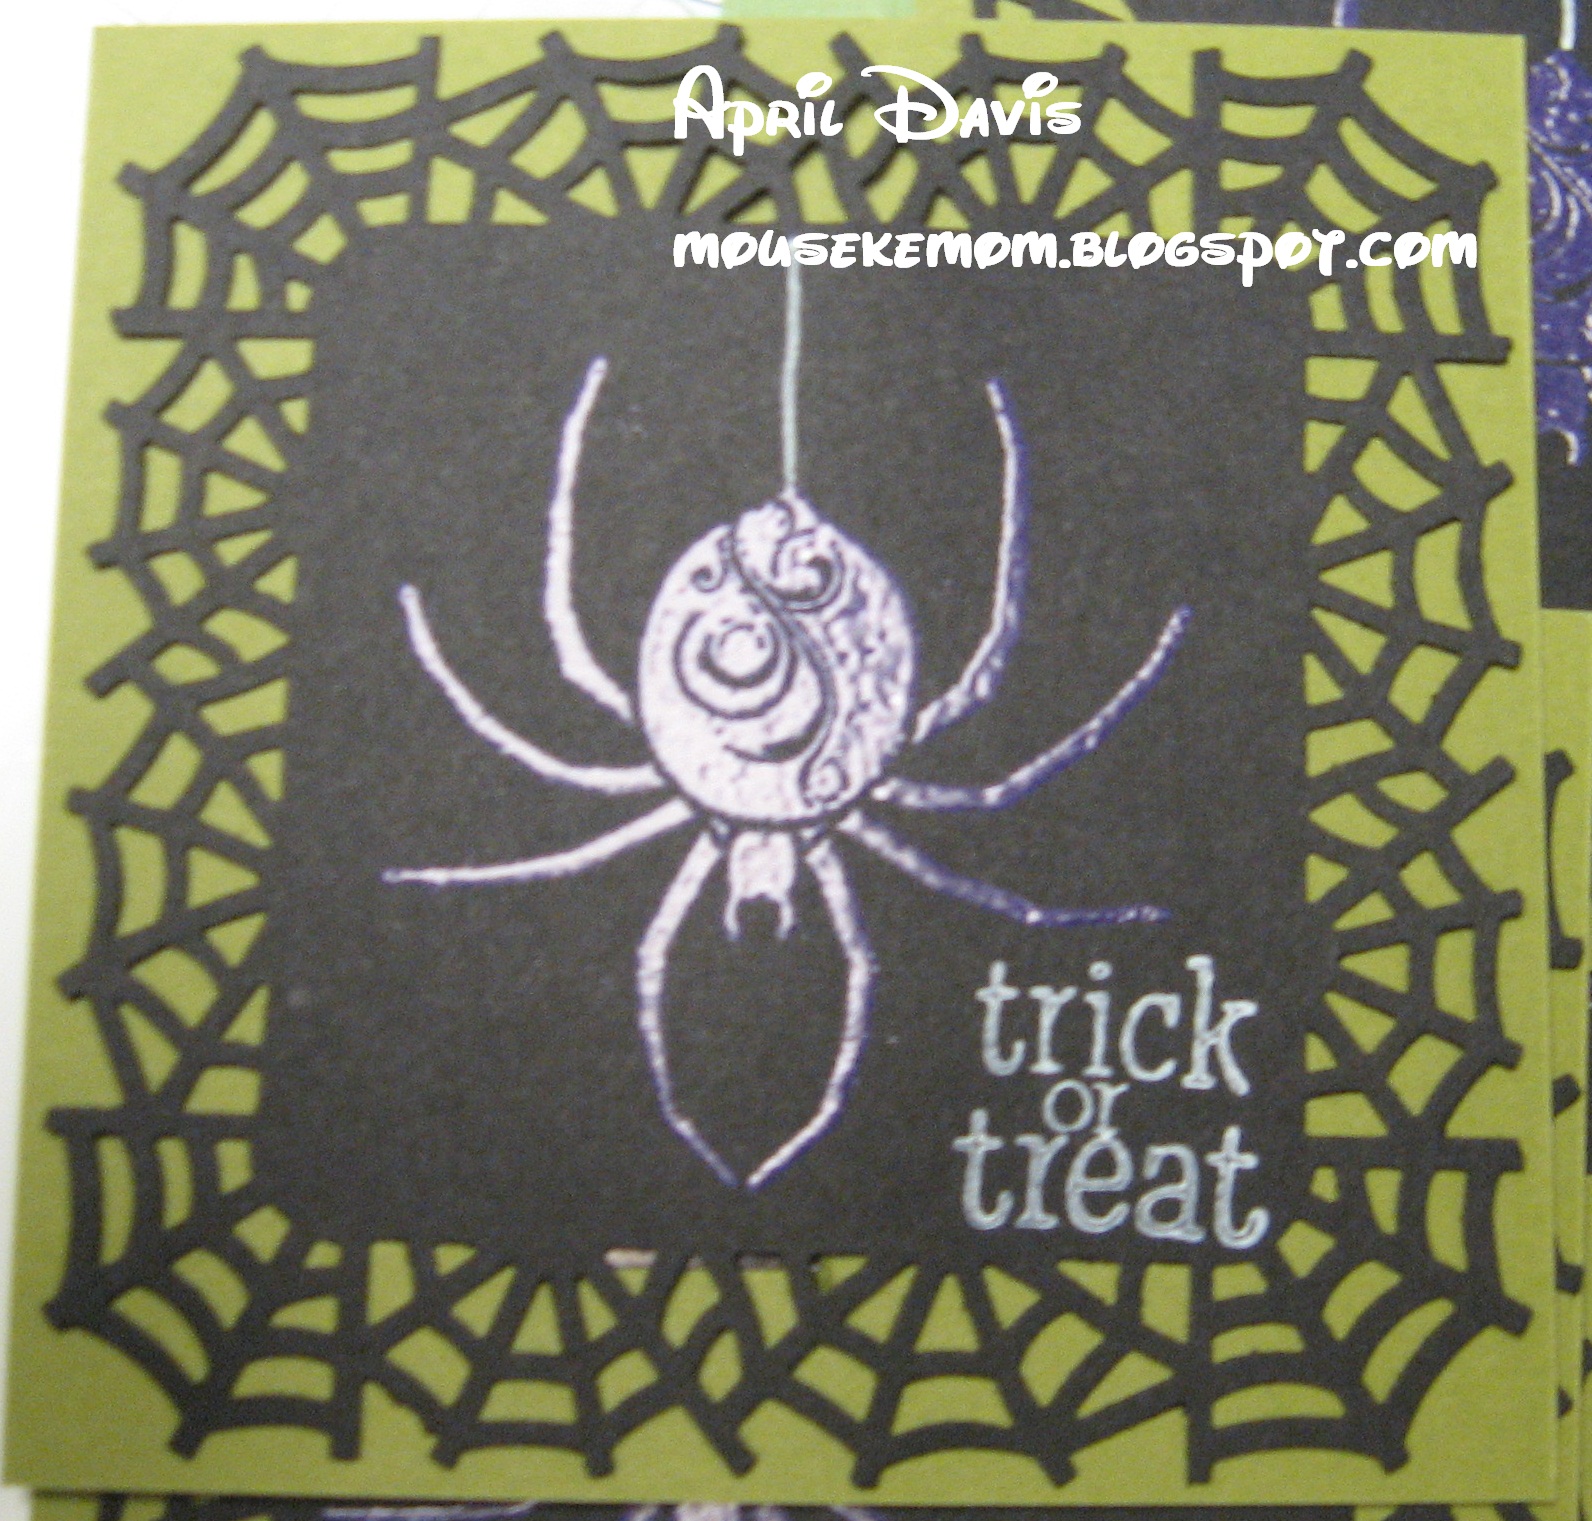 |
| close up |
 |
| front & back |
Wednesday, July 4, 2012
Xmas 2009
I know, two posts in one day - whoo hoo! Well, I finally have all three kids up to the start of 2010 in their scrapbooks! That is a feat, let me tell you. Now, I have 2 1/2 years to catch up times 3 kiddos. Yea, good times.
 The LO is based on a May 2011 pagemap. The base is Whisper White with layers of DCWV Christmas stack and Wild Wasabi. The border is Martha Stewart. I made the flags from scraps and used a square punch to make the notches. Once they were in place, I used my sewing machine to add a little texture. (My son's book is getting a little thick, so I am shying away from too many layers or heavy embellishments.) I used the coordinating DCWV chipboard set to make the title. It was very quick and easy to assemble. Looking at it now, I wish I had some cream cardstock for the base or maybe I should have distressed it a bit with some ink. Oh well, we always want to change something, right? Thanks for looking! April

Monday, July 2, 2012
Halloween '08

Tuesday, February 14, 2012
Valentine's notes
 These are the treats I made for my preschooler's teachers. They are 3x3 post-it note holders. The paper is Calypso Coral that is run through the Swiss Dots embossing folder. Dimensions are 3 1/4 x 6 3/4 inches. The scallop circle is Whisper White and stamped with Jet Black Staz-On using the CTMH Little Treasures set. I used Calypso Coral, Pool Party, Lucky Limeade, Purely Pomegrante, and Wisteria Wonder inks and a blender pen to color the conversation hearts. I punched a hole on each side of the jar, using an embroidery needle to thread the Cherry Cobbler baker's twine through. I stamped each post-it with the conversation hearts, then used double stick tape to mount the notes in the wrap. I folded the wraps so they would have an easel to display the image.
 Fast and simple. Thanks for looking! April
Monday, December 26, 2011
Monday Funday #13 - Sing-A-Song
It's another Monday Funday challenge at the TGF Farm Fresh Challenge blog and I get to host! I hope everyone had a fabulous Christmas (or if you celebrate another holiday). Today's challenge is "Sing A Song" - create a project based on a favorite song or lyric. I left it broad so there is a lot of freedom.
 The card base is Whisper White with layers of Old Olive and designer paper from DCWV. The image is Elf Anya and is colored with copics. I mounted it on a die cut with nestabilites classic circles and lacy circles. I tied some bells to twine and cut slits near her hands to look like she is holding the string of bells. I also used a glue gun to add bells to her hat and the bow.
Inside is some scraps from the card with the sentiment "Jingle Bells" stamped in Purely Pomegrante using Studio g alphabet stamps from Michael's dollar bin.
I hope you all join in and take a break from the holiday craze. Thanks for looking! April

 |
| peek at inside |
I hope you all join in and take a break from the holiday craze. Thanks for looking! April
Subscribe to:
Posts (Atom)