Showing posts with label paper craft. Show all posts

Wednesday, February 24, 2021

Cider and cocoa mugs

I am prepping and living on the hope that we will be able to have a fall/winter craft fair this year as COVID begins to slowly wind down.  I know we live in a different world but hope we can have back some fun holiday events.  Last year was really difficult to get into the spirit because everything was canceled. 

I buy the DCWV paper stacks when they go on sale, then cut the mugs on my Cricut in between projects, leaving them stacked in a box until I get around to assembly.  Often, I will fold them, then take them to the living room to glue while watching a show.  Then they go back to the box until I decide on the embellishments.  Since the fall craft fair was canceled, I was less than inspired, until they announced the vaccine had rolled out.  
This year, I used the MFT Hug in a Mug

stamps and coordinating dies.  The oval is from my Spellbinders basic ovals and stamped in Momento Tuxedo Black.  The mugs were cut in MFT Electric Red and Sour Apple.  The cider color is Stampin Up Cajun Craze and the cocoa is SU Early Espresso.  The whipped cream and marshmallows are SU Whisper White.  The leaves were cut from scraps of yellow and orange on my Cricut.  Thanks for looking!  April

Thursday, February 4, 2021

Sour cream money gifts

My older two wanted money to put towards various needs so I told the grandparents I would package it up.  Here is what I came up with...sour cream containers!  They are stupid-easy to make too.  Just cut a strip of paper, using your gift as a guide.  Add a strip of tape to the short end, joining the two ends.  Now you have a tube.  Close one hole flat and seal with some double stick tape.  I also used a crimper to seal.  Drop in the gift, then seal the other end.  Be sure to turn the opposite direction so the are perpendicular.  I went the extra step and put a zipper in mine so the kids could pull a strip and open it without tearing it apart.  I used a doily cut from the Cricut and some scrap red paper to stamp the sentiment with white heat embossing.  Thanks for looking!  April 

Thursday, January 28, 2021

Peppermint Mickey Garland


I decided I wanted a garland for over the fireplace after finding some amazing inspiration on IG and Pinterest.  So, off to the Cricut I go!  This was made with white glitter cardstock and red and green Cricut brand shimmer papers.  I used Tombow Aqua adhesive and it worked well.  I used a light weight on top to help set as I glued the next one.  I got inspiration from Tara at Wilder Crafting on IG for the hanger design.  It is basically a strip of paper with a hole on each end to run the string through, allowing the ears to look like they are floating.  I just used jute twine to string them up.  Thanks for looking!  April

Monday, January 25, 2021

Snowy Village Scene


I will be honest, I can't remember where I got this beautiful winter scene.  If you recognize it, please let me know so I can properly credit it. 

I cut this on my Cricut using 110lb white cardstock.  It took 6 sheets and some patience getting the scores to fold but the sections were easy to match.  I was able to fold each section in half and store sandwiched against the side of a box to keep it from being bent in storage.  Thanks for looking!  April

Friday, January 22, 2021

Winter mailbox


I got this awesome svg file from Designs By Miss M.  Mandee makes some really great stuff so be sure to look her up!  I just followed the colors she used and cut them on my Cricut.  I used glue and double-sided tape but would recommend hot glue for faster assembly.  I used Bazzill papers from JoAnn...good thing it was on sale.  This takes 5 sheets of dark red alone!  It turned out beautifully and looked great on our mantle.  Mandee even reposted it on IG account.  Thanks for looking!  April

Saturday, August 25, 2018

Disney Album


This adorable album was made from a tutorial by Ginger at MySistersScrapper.  Be sure to see her videos on YouTube!  The album is made from chipboard, kraft paper, note and envelopes from Hobby Lobby, and Simple Stories Say Cheese line.  I wanted it to be a bit sturdier along the spine so I used duck cloth canvas in place of cardstock.  It bends well and the double stick tape holds it in place.  Ginger has the link to how to make the inner page binding as well.


Thanks for looking!  April

Friday, August 17, 2012

Don't be angry...

Here is the other angry birds card I made for one of my bff's sweet boys.  The directions and inspiration for this came from Niki and you can find it here.  I didn't have all the punches, so I used my Cricut's George and Basic Shapes and some other punches to complete the cards. 
The card base is Whisper White with layers of Recollections blue argyle and Scrap Around the Blocks sea shells.  The sentiment is from SU's retired Grunge Rock.  Be sure to visit Niki's blog for the directions and list of supplies. 
Inside reads "Don't be angry, it's your birthday!"  I put the yellow one inside near the sentiment but cropped it to give you a close up.  Thanks for looking!  April

Monday, March 14, 2011

Pablo Paper Piecing


My son loves the Backyardigans, so I decided to do a special piece for one of his LOs. (It will be in the next posting.) I found the image on Yahoo! images, then dropped it into a document to resize it. After printing, I used a pencil to trace the image on the back side to have a sort of carbon transfer, then traced the needed pieces on the selected cardstock. I used retired SU colors Brilliant Blue, Yo Yo Yellow, Bordering Blue and Barely Banana. For his propeller, I used thin satin ribbon, made a bow, then cut the tails. The image on the left is the printed image and the one of the right is the finished paper piecing. Thanks for looking! April

Friday, February 18, 2011

Smooch Holder Tutorial


Okay, I made another one of the Smooch holders and changed the dimensions a bit. The finished dimensions will be 3" wide, 5" long, and 3" tall. You will need two pieces of cardstock trimmed to 9x11. Score at 3" on all sides of both sheets. Cut each corner like you would to assemble a box without a top. Assemble and set aside.
Use a scrap 3x5 piece of paper to make a template for the holes. I used a 1/2" circle punch to punch a row of 5 circles down the long side, then three across the short side. Trace onto other prescored sheet. Use a craft knife to cut out circles or make a star pattern to create holes. 1/2" circles are the perfect size for the Smooch brand tubes to fit.
After holes are cut, you should have three rows of five for a total of 15 slots for your tubes. Assemble same as the base and slide into base. I used a little adhesive to keep from separating. Decorate as desired.
Sorry, I don't know how to utilize templates, or I would make you one for downloading. The example here is retired SU colors Handsome Hunter and Taken with Teal. The stamp is from Michael's dollar bin and the skittle has a little piece of Taken with Teal glued to it with liquid glass. I spritzed the box with Vanilla Shimmer Smooch.
If you have any questions, leave them in the comments and I will do my best to clarify. Thanks for looking! April

Monday, February 7, 2011

3x3 cards and box

So, I saw this on Dannie's blog. I figured why not use them to help use up the scraps of this set? She has a link to the template on her blog, but there is also directions on Splitcoast stampers.

I used Pumpkin Pie for the base, then added pieces of Simply Scrappin' papers, as shown. I made a little closure for the box by cutting apart some velco squares and then added eyelets to the sides for the ribbon to thread through.

The cards are also using scraps. I used stamp sets Out of the Box and Smarty Pants. I think Smarty Pants is fun and quirky, just right for a little note card set. For the Be Yourself card, I only stamped half of the sentiment, then did the other half inside the card. Go check out the set for yourself...too cute! Thanks for looking! April

Saturday, February 5, 2011

Valentine's Bottled Water Treat - Part 2

Here is the one from Chic n Scratch. She has a blog and YouTube videos, so I thought I would check out the difference and see what I thought. Honestly, this one uses less paper, but takes just as much time cutting. This treat holder is more obscure measurements, so it takes a bit longer doing all the cuts, but Dawns eats three times the paper. I think it is just personal preference, as they are equally cute. You could fit three or four packets or other goodies in the box, but this one is a snug fit for just one, making it much more secure and less likely to lose one along the way.
Base paper is 2x7 3/4, then scored at 2 inches on each end. The inner piece of B&T is 3 1/4x1 7/8 and it does NOT go all the way down. Build the scalloped circle pieces like in the previous post and use brads to seal the sides. It allows a little wiggle room when you insert the packet.
Thanks for looking! April

Valentine Bottled Water Treats

I am finally getting to the teacher treats. I decided to do the bottled water treats I have seen on so many blogs. This one is based on the pattern used by Dawn. (If you have trouble seeing the video, she also has them on YouTube.) If you want to follow along with Dawn, start with a 4x11 piece of cardstock. You will need a scoring tool, scissors, a scallop circle punch, and a 1 1/4 inch circle punch.

I just adjusted mine to suit the theme. I am using the retired Pink Passion and Pixie Pink, then layered some pink heart B&T paper. Next punch out the scallop circle and layered with a circle with embossed devine swirls and the stamped image. Image is stamped in Pixie Pink for the heart from last year's level I set, and then stamped with a acryllic image from Michael's dollar section in Staz-On Jet Black. I used a paper piercing tool for the middle of each scallop, then mounted on a dimensional. Thanks for looking! April

Wednesday, February 2, 2011

Lego favor bags

One of my son's friends can't be at the party and was really bummed, so I thought I would put his goody in a special bag. Turned out so cute, Alex asked me to make them for all his friends. So here I sit with a square punch and little circle punch...you guessed it, hand-glueing little dots onto squares to make bricks. Geez, the things we do for our munchkins.
I had a few left over mini paper lunch bags and used scraps for the pieces. I used the 1 3/8 inch square from Stampin Up/EK Success and the EK Bubble border punch to get the right size circle. I mounted one lego brick at an angle, then put the second "brick" on dimensionals and tiltled it the opposite direction. I then layered two squares to make their tags and stapled to the bag with a bit of leftover ribbon from my stash. They will make cute placeholders on the table and will be our activity. Each boy has a mini lego kit to take home. Thanks for looking! April

Thursday, December 2, 2010

Stampin' Up Workshop - Part I

Okay, so my bestie, Amy, and I went off to a half day workshop back in October. While we did not get time to finish all the projects, they did give us all six that you would receive at a full day workshop! Yay, more fun for less money. I only got two of the projects fully completed...that's what I get for chatting. The first is the Old Olive Thankful Card and the second is a Cajun Craze Thankful Treat Sleeve.
The stamp set is in the fall mini and, while I wasn't thrilled with it, it is kinda growing on me the more I have seen others blogs. I have seen it used with the rock and roll technique. I have seen it used with vanilla emboss so it looks sort of like lace. I have seen it used as a sympathy card. So there is a lot more flexibility than what I first saw. I am also submitting it for the Stamp Something's Thankful challenge. Go check them out! Thanks for looking. April

Tuesday, October 12, 2010

Altered notebook

Here is a notebook I have done for swaps for a SU workshop I am going to this weekend. (I am using the Twilight card and the mummy card I have posted last year, but updated the colors.)

All products are Stampin Up, with the exception of the notebook - it came from the dollar bin at Michael's. I am using the "things i love..." stamp set from Stampin' Up. I covered the notebook in Chocolate Chip textured cardtock. I then cut a piece of Marina Mist cardstock to fit as a mat. Then I stamped "things i love..." in Chocolate Chip craft ink and covered in clear embossing powder. Once that was heated and set, I did the same for the bottom corner sentiment. I set that aside. Next, I punched scalloped squares from left over Chocolate Chip cardstock. Then I punched 1 1/4" squares from Marina Mist. I then stamped the shoe, chocolate, and shopping bags icons on Whisper White in Chocolate Chip Craft, then clear embossed. I punched them out with 1" square, then mounted the three layers. I used dimensionals to adhere to the base. I then took Night of Navy ribbon and wrapped it around the notebook then attached the Marina Mist base to the notebook. For the pen, I took a scrap of Marina Mist and stamped hearts in Versamark. I then rubbed the paper along the table to break up the fibers and make it more pliable. Roll it and slide it inside the barrel of the pen. Tie pen to notebook with ribbon. And there you have it - a quick and simple gift. Thanks for looking! April

Monday, May 10, 2010

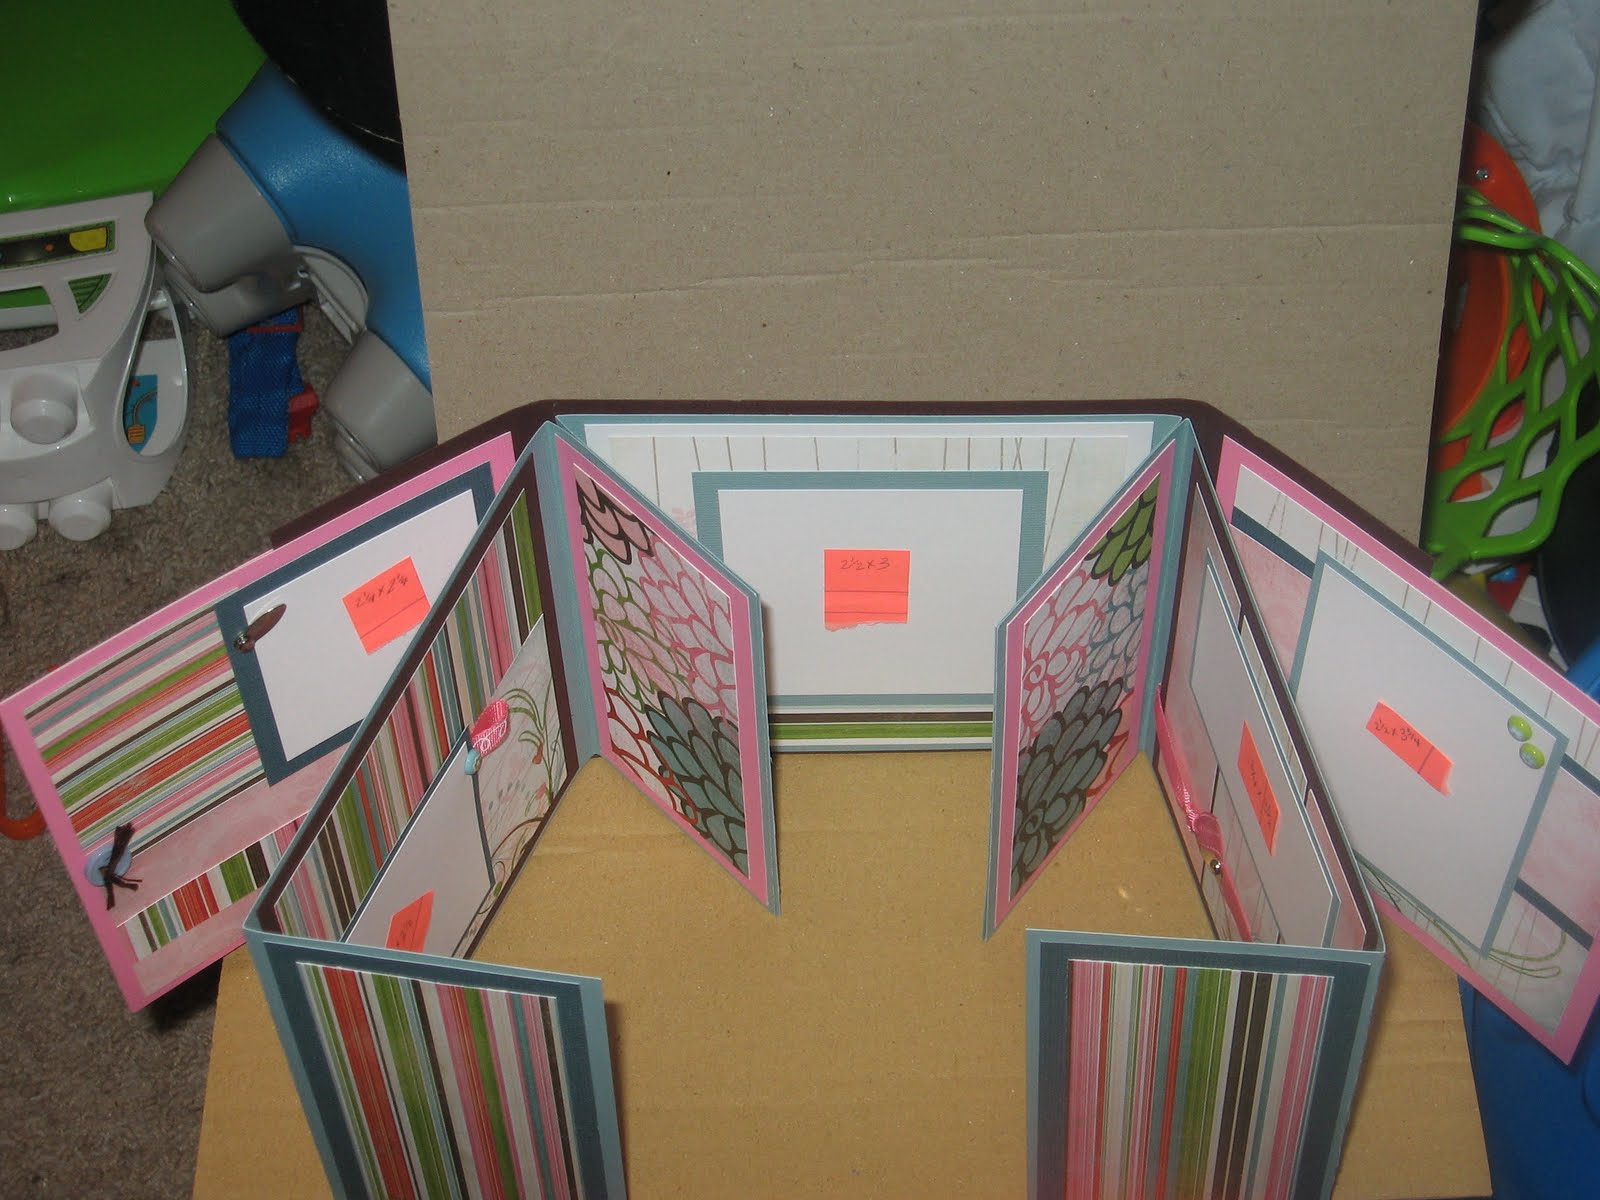
Flip Album


I finally got around to finishing this...I think I went to this class before Christmas...yikes! The papers are Bo Bunny and Bazzill. The basic album really doesn't take much time, it's all the panels that take up the time. You need three different solid cardstock colors for the base of the album. Then you need another solid color, white, and two double-sided pattern papers.


I have learned that if you embellish at all, you need to account for some extra room in the album. I would have gone an extra quarter inch because of the brads and thickness of the cardstock panels. I guess it wouldn't have been so bad if the patterned paper were regular thickness. Also, the instructor had us use embroidery thread for the catch of the album...it is fine, but you have to be careful not to leave too much give or too little. I would have used elastic string. Oh well, you live and learn, and I know better for my next one.
If you are interested in the directions, email me. Thanks for looking! April

Thursday, August 21, 2008

Wall-E paper piecing & LO


Well, I finally got around to doing some scrapping and I am really proud of myself! I found some drawings of Wall-E online then copied it to a document to enlarge it. After printing, I measured out the base of Wall-E, then cut and pieced those parts. To do the fine details, I flipped the printed image over and used a pencil to trace it on the back, then transfer it onto the appropriate colors. Wall-E is SU's Summer Sun, Basic Grey and Black. I used a circle punch for his eyes and a gel pen to do the details on his eyes and front. For the background, I used the clean eraser on a pencil with White Staz-On, then used a sharpener to make the eraser smaller for the stars. I cut a 3 inch circle from Bold Brights Blue and Green Gable, then cut a rough continent. I crumpled a paper towel and used the Staz-On white reinker to dab some clouds/mist on the Earth. The tag Wall-E is holding is from the goody bags we gave Al's guests and the name on the Journaling box is the name tag on the cookies we made for each guest. The rocket is from Pun Fun stamp set. Thanks for looking and I will try to get more done tomorrow. April
Update: I have had several requests for the link to the picture I used. Here you go! Wall-E picture