Saturday, December 27, 2014

Merry gift card holder

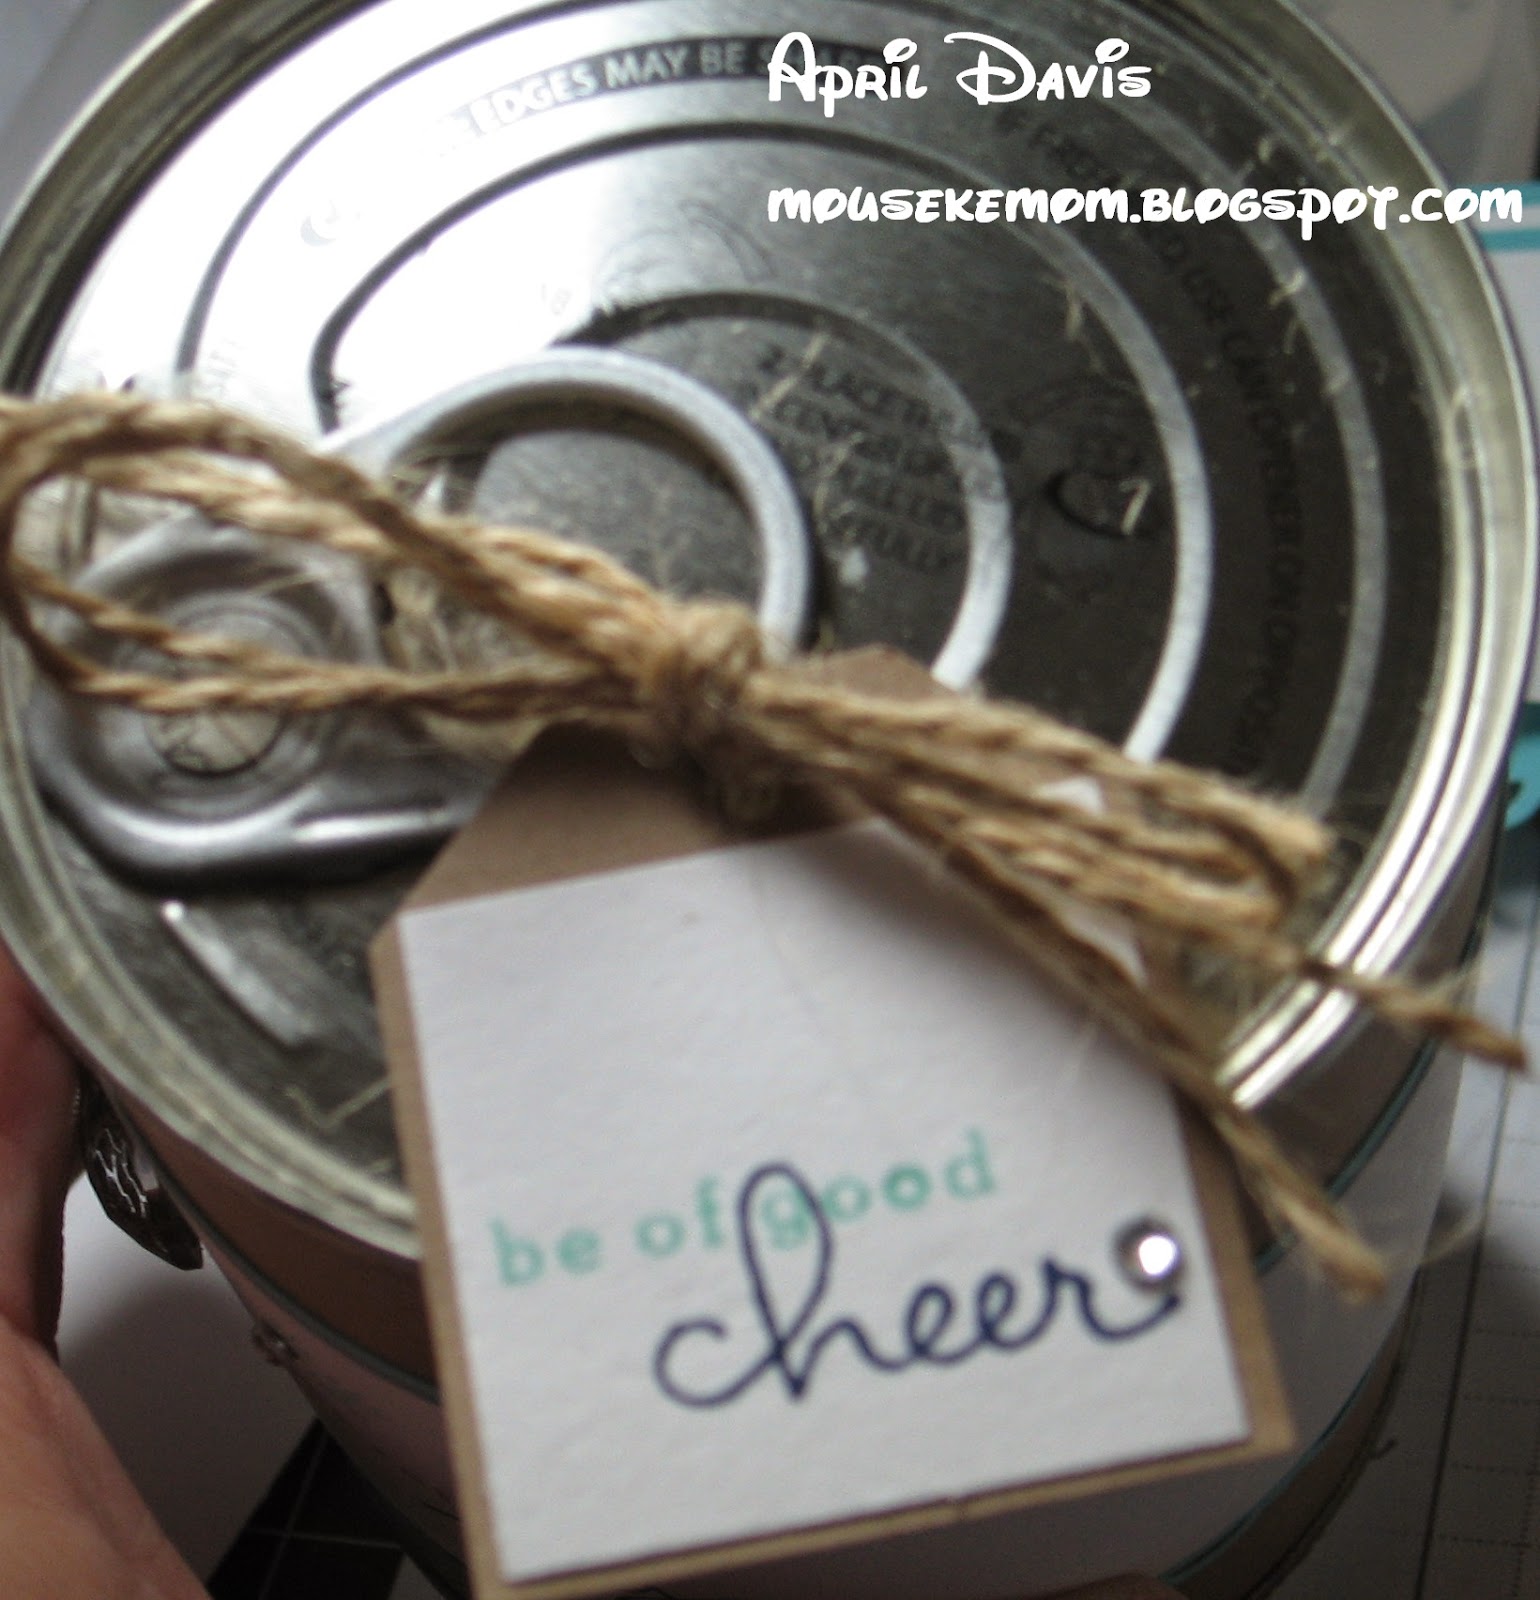
I needed a quick gift card holder for a card still on the backer, so I figured a regular card would work best.  I promise you this is the easiest gift card holder you could possibly make!  I use added 2" onto the card, scoring at 4 1/4" and 8 1/2", leaving you the extra 2" for you pocket.  The paper is Cherry Cobbler cardstock with a layer of Very Vanilla.  I used a punch to make a notch before adding adhesive to the two ends and folding into place.  I also added a mat to write on before folding the pocket up.  The stamps are SU Seasonally Scattered and Endless Wishes in Cherry Cobbler and Basic Grey ink.  I added gems to some of the snowflakes and some stretchy silver cord.  Thanks for looking!
 April  
view of inside

Thursday, December 25, 2014

Santa dress gift card holder

I know you have seen several gift card holders using the SU Top Note die.  I just got the dress up framelits and finally had an excuse to use them.  I folded the Cherry Cobbler paper with a mountain fold inside to make a pocket for the gift card.  There are tons of videos and tutorials available with step by step instructions so I am not going to repeat them here.  The green patterned paper is leftover from another project.  I used Basic Black, kraft, Whisper White, and Real Red for the dress.  I cut the dress twice and used the top of the die to mark where to trim the red layer, then straight cut the bottom scallops off.  I used Versamark to ink the top and bottom of the dress, then used heat & stick to add white glitter (sadly does not show well in the pic), before adding the read layer.  I used a black sharpie to color the gems.  The dress is mounted to the card with dimensionals.  I ran organza ribbon behind the dress to close the holder.  I stamped the sentiment from Tags 'til Christmas in Gumball Green, punching with the scallop square.  I stamped the inside in Cherry Cobbler, punching it with a 1" square, mounting it with a dimensional.  Thanks for looking!  April

Tuesday, December 23, 2014

Very Merry Wishes

I just can't get enough of the Stampin' Up Endless Wishes set.  It is my go-to set during the holidays.  I have seen so many great ideas on how to stretch the November My Paper Pumpkin snowflake kit and the Endless Wishes set goes so well.  The base is white with layers of Pool Party, Bermuda Bay, and Whisper White.  The snowflake base is heat embossed in silver metallic to match the flake in the middle.  The snowflake medallion is the negative from the silver sheet of die cut flakes in the kit.  I cut the negatives into strips and then into individual squares.  It has a scrap of the Letterpress snowflake DSP behind it, topped with a gemstone.  The scalloped square is cut from nestabilities lacy squares.  Super simple and a fast way to use up little scraps you have laying around from other projects.  Thanks for looking!  April

Sunday, December 21, 2014

Bus Driver key rings

Every Christmas, I try to give all they teachers and school staff a little something.  So many times the bus drivers and other support staff are missed.  I like to give the drivers something small like a coffee gift card.  This time, I found these cute little key ring/gift tag cards from Starbucks.  I picked up a pack of rings from Hobby Lobby for under $3 and pulled out the shrink plastic and some jump rings.  I used sharpies and metallic pens to make the little school bus, then shrunk with my heat gun.
I also made cute little tags from the SU Endless Wishes sentiments in silver embossing powder and a sponged in Lost Lagoon snowflake using the waste from the November My Paper Pumpkin snowflakes.  Thanks for looking!  April

close up of gift tag

Friday, December 19, 2014

Cheeky Teachers

I made similar frames for teachers a few years ago.  They were such a hit, I decided to do these for my youngest child's teachers.  (Sorry for the reflection and slightly blurry pics.  They didn't look bad on the camera screen.)  The image is TGF's Cheeky Geeky, colored in copic and paper pieced.  The coordinating papers are from Bo Bunny's Shabby Princess Pep Rally line.  The chalkboard is made from kraft and basic black.  To make the woodgrain, I used my wood embossing folder, inked it then closed and rubbed firmly.  It's light, but leaves a nice grain.  I forgot to rub the "board" with my white ink, but the writing is done with a chalk writer.  The banner is made from SU Banner Blast in Cherry Cobbler, Baja Breeze, Old Olive, Pumpkin Pie, Basic Grey and Daffodil Delight.  I punched them with the coordinating punch and mounted them on a string of baker's twine, attaching them to the frame with micro glue dots.  Thanks for looking!  April

Wednesday, December 17, 2014

Reindeer in the Dark card

This card is a CASE from one I saw on Pinterest and I am using it for this months stamp club swap.  I admit, I copied the card fully, only adding the sentiment from SU Endless Wishes in Whisper White craft ink.  The question mark is from a dollar alphabet set from Studio G.  The base is kraft with a layer of Basic Black.  I used a white gel pen and a score board to make the lines.  I thought the sentiment was cute and a bit quirky.  Thanks for looking!  April

Monday, December 15, 2014

Warm Wishes Minty Kisses

Several years ago, I found these adorable glass milk bottles in a grocery store in Iowa.  The kids got a kick out of how milk used to be delivered, and I loved being able to recycle them as gifts.  This one is filled with Candy Cane Kisses and decorated with Stamps from The Greeting Farm's Keep Cozy set, SN@P papers, baker's twine, and Stampin' Up markers in Baja Breeze, Red Riding Hood, and River Rock.  Thanks for looking!  April

Sunday, December 14, 2014

Holiday tags gift set

I love the November My Paper Pumpkin kit.  I wanted to make the kit into a couple of cute teacher appreciation gifts.  I stacked the finished tags into two equal sized piles, then measured.  Four tags, if finished by kit instructions, measure just about an inch in thickness.  Measure the tags (around 4"), and give a tiny buffer (between an 1/8 to a 1/4" should do fine), then add an inch all the way around to account for box depth.  I made a divider piece, for inside the box, by adding 2 inches to the length, scoring in the middle and 1" from the center on both sides.  Before assembling the box, I stamped it in the background stamp from the kit and used the stamp-over technique, so it leaves a lighter impression to fill in the gaps.  Once stamped, I cut a notch at each corner, adding adhesives to the corner tabs.  Pop the center divider in, then start the top.  The lid is made the same way as the base, but out of a clear window sheet.  It's a bit stiffer to score, but works well.  If you want a bit more flexibility, you can use an overhead transparency film too.  Seal it with a ribbon and you are done.  Thanks for looking!  April
box top view


Monday, November 17, 2014

Pie card

This is my SWAP for my monthly stamp club featuring the October 2014 My Paper Pumpkin stamps.  The base is Very Vanilla with layers of Old Olive and Bo Bunny's Shabby Princess papers.  The doily is layered with coordinating Shabby Princess paper cut with the third classic circle from Nestabilities.  The pie is cut using a 1 3/4" circle from aluminum foil, the scalloped circle from kraft, a 1 1/2" circle from Pumpkin Pie, and inking with Crumb Cake.  I cut a slice before mounting on the foil layer.  I also used a small flower punch with Whisper White cardstock crumpled before adding to the slice for whipped topping.  I used Very Vanilla, stamped with Early Espresso and a flag notched with the corner of a square punch, before mounting on a dimensional and bending the flag tail.  I added some gold glitter tape behind the flag and inside I inked "Happy Thanksgiving" in Old Olive.  Thanks for looking!  April

Thursday, November 13, 2014

Christmas mini pizza box

I have put these mini pizza boxes together as gifts for my son's assistant teachers.  Like the autumn votive boxes I made here, these hold votive candles decorated with winter washi tape.  The box is kraft, stamped with SU Endless Wishes in Whisper White craft ink.  The belly band is Cherry Cobbler topped with Silver glitter paper punched with the scalloped square punch and a 1" Basic Black square.  I used the large tag punch in Whisper White, stamping with Cherry Cobbler and Smoky Slate, tied with black baker's twine.  Thanks for looking!  April

Sending Birthday Wishes

This card base is Whisper White with layers of red SN@P, Smoky Slate, and Whisper White.  I used a doily and washi tape to embellish this.  The image is from Whimsie Doodles, colored in copic and cut using nestabilities labels eight.  The sentiment is from SU Endless Wishes and Endless Birthday Wishes in Basic Grey and Red Riding Hood, punched with the decorative label punch, and mounted with dimensionals.  Thanks for looking!  April

Monday, November 10, 2014

Happy Birthday, Cupcake!

This card is a base of Whisper White with layers of Old Olive, retired SU Birthday paper, and Tempting Turquoise.  The image is TGF's Cupcake Anya, colored with copic.  I used cork paper and the SU banner punch for the embellishments and the sentiment is stamped in Basic Grey, using stamps from SU's My Paper Pumpkin May kit and Inkadinkado.  I kept this flat as possible for mailing.  Thanks for looking!  April

Friday, November 7, 2014

copic coloring

Ugh, okay, I am back to practicing coloring with my copic markers.  After this one, however, I need to go over some water and night tutorials.  This was the best I could come up with based on the colors I had and my skill.  The image is from YamPuff on Deviant Art...she is amazing.  I saw this and thought, it's totally Isle Esme.  I will use it on a later project, but figured I would show my failures as well as my success...it is how we learn, after all.  Thanks for looking!  April 

Tuesday, November 4, 2014

Wish Big gift set

This is a a gift set I put together as a teacher gift from the My Paper Pumpkin July set.  I like using the kits to put together gift packet for use at the end of the school year.  I used Pool Party, Smoky Slate, and Whisper White papers along with Blackberry Bliss and Pool Party inks.  The topper is cut from the Top Note die.  The bonus, I have tons of left over stars, even after I make a little tag gift set.  Thanks for looking!  April

Sunday, November 2, 2014

Christmas cans

I did these as teacher's gifts a few years ago here and decided to pull them out again for my stamp club Christmas gifts.

The trick is to cut off the bottom of the cans with a can opener, once clean and dry, fill and reseal with crystal effects or liquid glass.  Place a weight on top of the cans and let sit overnight.  I cut a label off one of the cans to use as my template.  These are great ways to present small gifts like gift cards, rubber stamps, notepads, and baked treats.  I fill the gaps with crinkled shredded paper.
I used a base of kraft and stamped SU's Endless Wishes in Whisper White craft ink.  Next, I made a belly band from Pool Party and Whisper White, punching a border from the lacy scallop border from SU.  I stamped the snowflakes in Pool Party and the sentiment in Crumb Cake and Night of Navy.  The tags are punched with the SU tag punch from scraps of kraft and layered with Whisper White stamped in Pool Party and Night of Navy.  I added a little bling to the tags and belly bands.  The big circle blings are from Hobby Lobby's Spare Parts.

Thanks for looking!  April

Monday, October 6, 2014

Fall votive candle gift set

I made these for SWAPs for my monthly stamp club.  I got 100 votive candles at Ikea for $3.99 and each mini pizza box holds 4 at 4 cents each.  I used some of the SU retired Witches Brew washi tape to wrap the candles, then set them aside.  Directions for the boxes are found on Splitcoast here.  Mary Fish also has a great link.  Mine is a bit smaller (think 3x3ish) and starts with 5 1/2x9 1/4 (Don't hold me to that.)  I stamped the base in Crumb Cake with Day of Gratitude.  I cut a circle in Basic Black and used an circle punch with Pumpkin Pie to make the pumpkins, inking with Pumpkin Pie before assembly.  I stamped the stems from Jack of All Trades in Versamark and green embossing powder.  The moons were made with Daffodil Delight and a circle punch.  I punched a partial circle then moved the punch in to punch a sliver of a circle.  I wrapped the box with jute twine.
I am going to make these again in a Christmas theme for my child's teacher assistants.  Each gift costs around 50 cents each, depending on materials.  Thanks for looking!  April

Thursday, October 2, 2014

Endless Christmas cards

So I stole the design for my Christmas cards this year from a pin on Pinterest.  I am shamelessly CASEing many ideas there.  The base is kraft with layers of Bermuda Bay, Pool Party, and Whisper White.  I was able to get layers for 6 cards cut from one sheet of each recatangles.  The stamps are SU Endless Wishes, that was brought back for this 2014 year, inked in Bermuda Bay, Smoky Slate, Pool Party, and Versamark with silver metallic embossing powder.  The sentiment is stamped in Bermuda Bay on flags cut from the banner framelits.  I got 10 banners per sheet of Pool Party.  The banner is wrapped with some white floss.  I kept the embellishments minimal and the layers as flat as possible to keep mailing cost to the minimum.  Inside, I stamped the sentiment from Petite Pairs in Bermuda Bay.
I still have to get the annual newsletters done, and everything addressed, but I am on track to have them in the mail by Thanksgiving.  Thanks for looking!  April

Tuesday, September 30, 2014

Places SMASH page

I got this great postcard of my favorite DVC resort in one of the sales promotionals and couldn't resist cutting it down to fit my SMASHbook.  I used some cute printables, Recollections brand SMASH stuff, a bit of washi, and some postal themed post-it notes.  The tabs hold journalling cards that pull out on the side and top of the picture.  Super quick and easy.  Thanks for looking!  April

Tuesday, August 26, 2014

Grunge hello

I made this as my swap for this month's Laughing Ladies stamp club.  I found the inspiration for the card here.   
The base is Whisper White and stamped with SU retired Extreme Elements using Bashful Blue and Hello Honey.  I stamped off the stars to make them lighter.  The sentiment is from SU Four You in Blackberry Bliss.  I cut the panel, stamping the images, then piercing the paper using a foam mat and a plastic guide, before placing on card base.  I used a bit of jute twine tied in bow and placed with a mini glue dot.  I wanted to reserve the big embellishments for ease of mailing.  Thanks for looking!  April

Monday, August 25, 2014

12th birthday card

So I absolutely need to catch up on birthday cards.  Sometimes they seem never ending but I love to hear from the recipients and makes me smile, so I insist on making each card, rather than buy it at Hallmark.  This is for my BFF's middle child who is turning 12 soon.
This card is made using the left over pieces from a long retired Stampin Up Simply Sent Rock Star set.  It is based on a similar card I found on Pinterest.  The stamps are Endless Birthday Wishes stamped in Bashful Blue and Old Olive.  The stars were leftover stickers from the set, popped up on dimensionals.  Coordinating colors include: More Mustard, Old Olive, Bashful Blue, Brilliant Blue and Whisper White.  It was super fast and easy to put together, taking less than 10 minutes.  Thanks for looking!  April

Monday, August 18, 2014

16th Birthday shaker card

My best friend's son is 16...oh how the years have flown by!  I wanted him to have a card as special as he is and for this big milestone.  I used some long-since retired SU papers that work with Pumpkin Pie, Old Olive, Whisper White, Bashful Blue, Apricot Appeal, and Tempting Turquoise.  I used my circle nestabilities to make the cuts and border.  I also recycled a backing from a photopolymer stamp set for the window.  The stamps used are from the retired SU Extreme Elements.  I stamped the splotch in Bashful Blue, then used the stamping off technique for the stars in Pumpkin Pie, before stamping the textured dots in Tempting Turquoise and the fleur de lis in Old Olive.  I cut the numbers from the Cricut Old West cartridge.  I added a couple of blue gems around the numbers before using foam to make the circle around the image.  I used some glitter, small gem stars, beads, etc to make the shakers.  I sealed the goods and ran a bead of liquid glass around the foam to help seal it all in place.  I suggest putting a weight over the card to make sure the seal sets.  I finished off the card with some stars I stamped and cut from the Perfect Pennants set in Old Olive and Pumpkin Pie.  I also used some leftover border stickers that came with the paper.  Thanks for looking!  April

Friday, August 15, 2014

The Artist

So it's been forever since I have practiced with my copic markers and I found some fantastic line art pieces on pinterest from Yampuff on Deviant Art.  She seems okay with people pinning her work and downloading the images, which I pulled directly from DA.  My daughter is big into Manga art and she went crazy for this cutie, asking me to color it for her locker.  I had a hard time with the tiny details but I chalk that up to being out of practice.  Oh well.  She is pretty cute anyway.  Thanks for looking!  April

Thursday, August 14, 2014

Copic swatch book

 
I found this great copic swatch book on pinterest.  The fantastic site even has a download of all the pages.  I added a few extra of the blanks so I could practice different techniques.  I printed the pages then took my favorite copic paper (neenah solar white) over to the copy shop.  I printed the sheets on my paper then trimmed.  I got them in the order I wanted and brought two chipboard pieces with me already cut just a bit larger than an A2 size card front.  Next, I took it to the counter and had the staff help me pick the best binding based on the size.  With copies and binding, it cost less than $5.
I finished the cover with SN@P papers, doily, an image from The Greeting Farm, and a title made from Michael's dollar mini wood alphabet and the decorative label punch.  Last was a few gemstones.
copic color chart
technique sample page
I stamped some of my favorite images in after making a mask for the ovals and using a post it for the squares.  I have the marker list filled in and am starting doing samples of techniques.  Thanks for looking!  April

Friday, August 1, 2014

Seriously love you

I wanted to make a card from the odds and ends of My Paper Pumpkin sets I have been collecting the last several months.  Here I used stamps and bits from the Welcome kit, September 2013, December 2013, and January 2014.
The base is kraft with layers of SN@P paper that matches Smokey Slate, red glitter paper, and a doily cut in half.  I stamped the base with the splatter and love stamps in Crumb Cake.  I stamped off the love stamp to make it softer in the background.  I stamped the word bubble in Soft Suede, also stamping off.  Next I gave a couple of quick, light spritzes of Gold Glow mist.  After that dried, I stamped the seriously stamp in Versamark then embossed with red powder.  The love you is stamped from the September "love your guts" by masking the "r guts" and inked with Basic Gray.  The SN@P paper is cut with the banner dies from SU.  The doily is stamped with arrows from the January 2014 kit in Basic Gray.  The red glitter heart is punched with the retired SU large heart punch. The wood pieces are left from the December 2013 kit and glued with liquid glass (aka Crystal Effects).  It seems to have a stronger hold to the glitter than other adhesives.   I wanted to keep it flat for mailing and a bit less girly so I skipped the extra embellishments.  Thanks for looking!  April

Monday, July 28, 2014

9th Birthday wishes

This is for my BFF's youngest.  I finally got to break out the Just Add Cake DSP I got on clearance from SU.  The inspiration for this card comes from one found on Pinterest....here.
The base is Peach Parfait with layers of Early Espresso, Whisper White, So Saffron and the Just Add Cake paper.  I cut my base as an A2 card with a top fold.  I stamped the background in Pumpkin Pie using the new SU photopolymer Endless Birthday Wishes.  The Whisper White is punched using the scalloped border punch and the Early Espresso is embossed using the new large polka dot folder from SU.  I added a bit of stitching with my sewing machine.  The number is cut using the Cricut Don Juan cartridge with the shadow feature.  The tiny tag is cut with a scrap of Peach Parfait using a super cute Quik kutz tiny ticket die I found on clearance at Michael's for around a dollar.  Can't beat that, right?  I stamped a little mustache (one of a pair of stamps from the dollar bin) in Pumpkin Pie and wrote the name in white gel pen over top, adding it to the number with some white embroidery floss I had sitting around.  The sentiment is also from Endless Birthday Wishes and stamped in Early Espresso and Wild Wasabi.  Thanks for looking!  April

Wednesday, July 16, 2014

clipboard gift set

So, it's time to restock my gift box.  I make several different items over the year to store for Christmas and end of school year gifts.  It makes my life so much easier to grab the box and have the kids choose items they want to give and filling special request doesn't stress me because the kids often love what's already there.  Only the kids closest friends get special custom items. 
The clipboard was found at a Rubber Rummage Sale for .50 and was unfinished.  The pad of paper was on clearance at Michael's for .99 and the paper clips was a package of 24 for .70.  After adding the paper and embellishments, this gift cost less than $3. 
I covered both sides of the clipboard, sanding and inking the edges.  I added a strip of damask washi tape to add a bit of flair.  I cut a piece of scrap to mount the paper clips and placed it under the clip.  I added a bit of washi to the paperclips and notched them with the banner punch.  I wrapped baker's twine around the board to help keep it all together.  I can finish it off with a tag at a later time.  Thanks for looking!  April

Monday, July 14, 2014

Off the Chart Thanks

This card is made with a retired Stampin' Up set called Off the Chart and SN@P papers.  I stamped the chart in Jet Black staz-on and mounted it on a piece of Basic Black.  The SN@P papers coordinate with Smokey Slate, Baja Breeze, and Red Riding Hood.  I punched the banners from the banner punch from SU Sale-a-bration, mounting on Basic Grey baker's twine.  The glasses are metal charms from Hobby Lobby's Paper Studio.  I inked the glasses in Jet Black staz-on and heated with a heat gun to set.  Thanks for looking!  April

Saturday, July 12, 2014

Embossing Folder Storage

My youngest just got a new pair of shoes so I stole to make new storage for my ever growing stock of embossing folders.  I used some mod podge on the outside with some Paper Studio designer paper on the outside.  I also recycled the chipboard from the MPP kits and cut with the Tim Holtz bracket die.  I used my label machine to make the titles.  I also recycled some manila folders my husband had ready to recycle to make mini folders.  The tabs are scap pieces of Bo Bunny Back to Basics dots and are punched with the SU tab punch or a corner rounder.  I embossed each folder in it's matching design for quick reference.  The large tabs are for my favorite and frequently used folders.  Thanks for looking!  April
example of completed folder

Thursday, July 10, 2014

Hey There butterfly

 
I have been playing around with the butterfly mask a bit more and wanted to use the My Paper Pumpkin Welcome kit stamps.  I started with Whisper White paper then inked in Wisteria Wonder, Baja Breeze, and Daffodil Delight.  Next, I used the spots stamp with Night of Navy ink and kept stamping without reinking for a faded look.  I also used Night of Navy for the sentiment.  Last, I added a few gemstones, keeping it fairly flat for mailing.  Thanks for looking!  April

Tuesday, July 8, 2014

Make a Wish

I was playing around with my new SU Banner framelits and the SU Perfect Pennants stamps.  I have seen so many cards with the middle cut out right now and wanted to try it. 
The base is kraft with layers of Very Vanilla and eggplant.  I used the stars from Banner Blast and Perfect Pennants in Daffodil Delight.  I stamped the sentiment in Versamark with yellow and white embossing powders.  I paper pieced the center of the sentiment and wrapped it in a bit of baker's twine.  The front is popped up on dimensionals.  I made a few mini arrows from the bitty banner punch.  Thanks for looking!  April
close up of mini arrow in punch
view from angle

Sunday, July 6, 2014

Puzzle Pair

The base of this card was a fun fold we did at our monthly stamp club.  It is so easy and uses one piece of double-sided decorative paper and a couple of pieces of cardstock for matting.  HOW TO:  It is a regular A2 size, starting with a  base of 5 1/2" x 12".  Next score at 2", 4", 8" and 10".  Measure up 2" from the bottom and make a mark.  Next, cut at from the 4" line diagonal to the mark you made.  DO NOT throw away scrap!  Flip over and repeat on the other end.  You will have a 4" block in the middle that will be your greeting area and a slant going in opposite directions.  Take your scraps and adhere them to the bottom.  The look will either be a diamond or arrow, depending on how you place the scraps.  Decorate as desired.
 
My card is a base of Rich Razzleberry designer paper with layers of matching cardstock and Whisper White.  The stamp set is SU Perfect Pennants - using the heart (stamped in Rich Razzleberry) and the Me & You stamped in Versamark and black embossing powder. 
close up of inside sentiment
Inside, I used two puzzle pieces I scavenged from an old puzzle.  Unfortunately there is a glare, but the pieces actually match the Razzleberry!  I wrote "are a perfect pair" under the pieces.  Thanks for looking!  April

Thursday, July 3, 2014

June 2014 My Paper Pumpkin


Well, there is only so much you can do with pinwheels.  I put together several and arranged them in a plastic box with some glass marbles and some leftover scrapbook figures.  I made a couple of the pinwheels smaller by cutting a quarter of an inch all the way around, making it three inches.  I also trimmed a bit off the straws to help with where they sat in the arrangement.  Thanks for looking and Happy 4th of July!  April


close up of pinwheel
Close up of figure

Tuesday, July 1, 2014

Sweet Hello

I am trying to use up some leftover scraps and some experimental pieces.  I love the SN@P papers and have been working to match them to Stampin Up colors.  I will post soon the final coordinating pairs. 
This is a base of kraft with layers of SN@P papers and a paper doily.  The lollipop is made from pink baker's twine and a gloober double-sided 2 inch circle.  I took a length of twine about the length of my arm, doubled that, then folded the twine in half.  Finding the center of the circle, I started with the looped end of the twine and used a stylus to help hold in glue until I got around a few times.  It takes patience to keep the twine from twisting and staying closely spiraled.  I ended up just off center, so my lolli was about 1 3/4", trimming the glue edges away.  I added a lolli stick and used dimensionals on each side to stablize.  The sentiment is from the Pennant Parade, stamped in Baja Breeze, and cut out with the SU banner framelits.  It is tied to the stick with some of the leftover twine and popped up with a dimensional.  Thanks for looking!  April

Sunday, June 29, 2014

Wonderful Life

This is for a friend's anniversary.  They have had a crazy year and managed to come through it together.  It's not traditional, but the quirky suits them. 
The base is Whisper White and uses to stamps from the February 2014 My Paper Pumpkin kit from Stampin' Up.  The inks are Pear Pizzazz and Night of Navy.  I stamped the Pear first, then made a mask from a post-it note and the 1 3/8" circle punch.  Then I stamped the Navy and the sentiment.  The sentiment is from Perfect Pennants.  I kept this clean and simple for mailing.  Inside says "Congratulations on anther year of wonderful.  Happy Anniversary".  Thanks for looking!  April

Saturday, June 28, 2014

Butterfly Thoughts

This is another inked butterfly on a Whisper White base.  Inks are Wisteria Wonder, Pool Party, and Daffodil Delight.  The sentiment is from perfect pennants and inked in Night of Navy.  I wanted to keep this clean and simple and left if unembellished for easy mailing.  Thanks for looking!  April